# Collect & Plan Content Ideas
Walling streamlines the process of collecting and planning your content ideas. All your ideas are visually organized and managed in one place to boost your productivity and help you move from ideas to action faster.
This is an example of collecting and planning video content ideas, but the same workflow can be used for other content planning, such as planning social media posts or blog content.
# Collect ideas
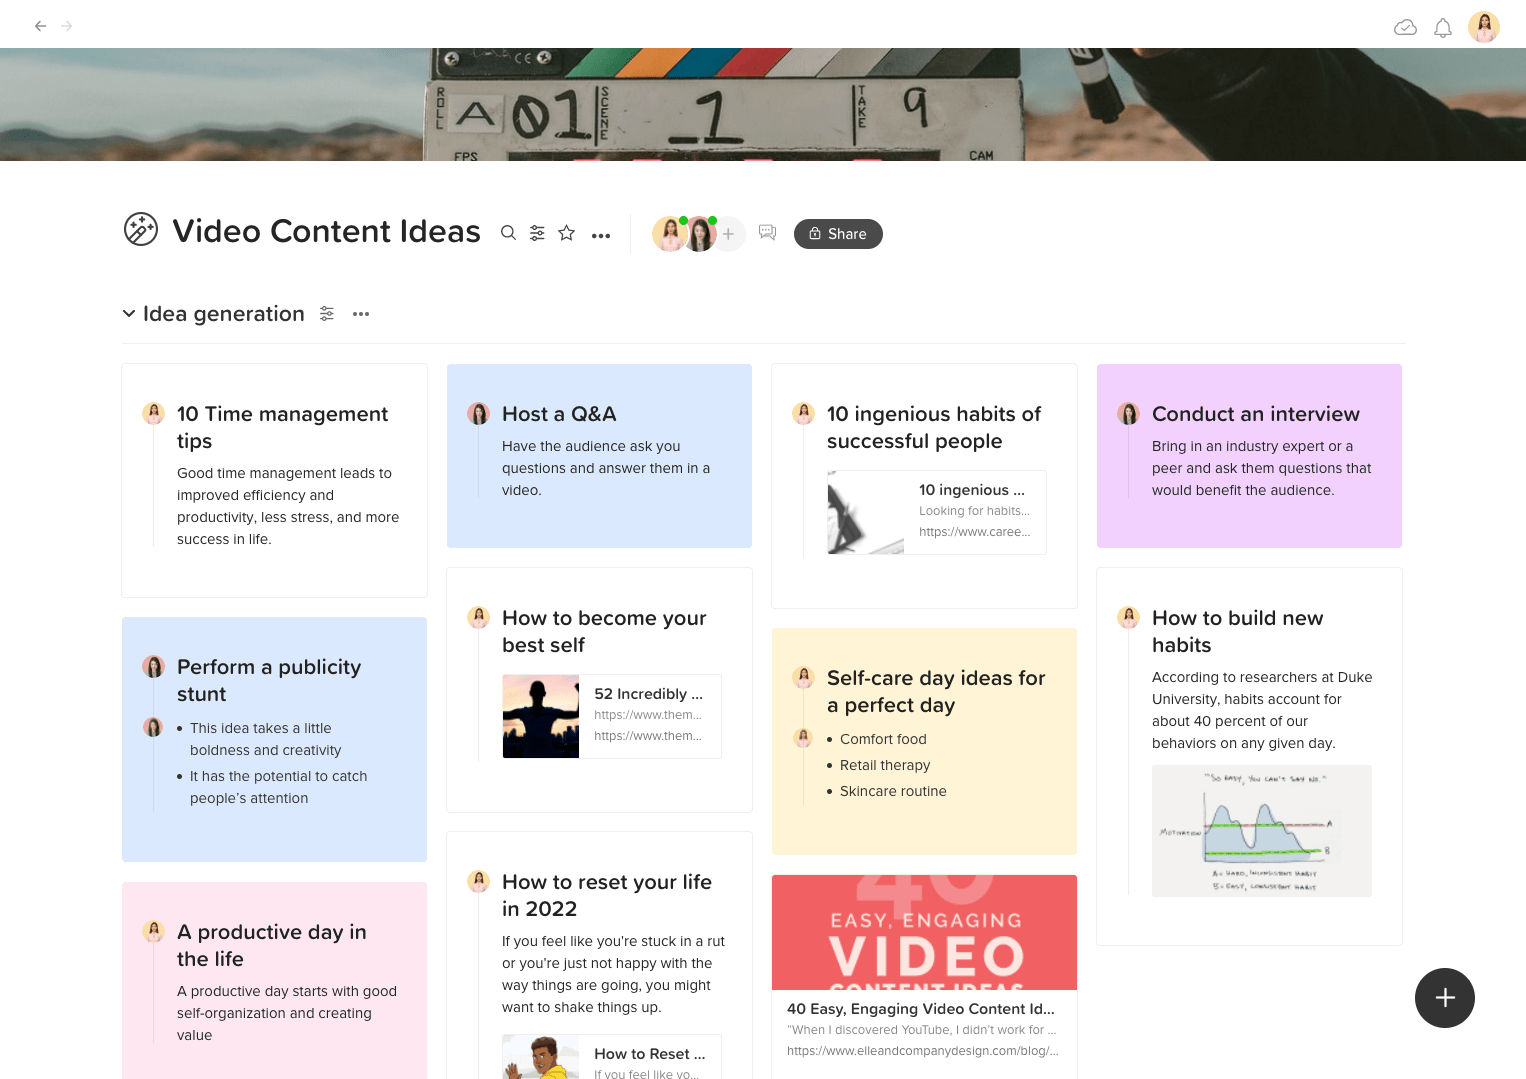 Create a wall section for idea generation. Walling gives you a flexible, frictionless experience to collect several ideas and organize them side by side. The visual layout puts your ideas front and center without too many clicks or jumping between pages.
# Color code ideas
Use the brick background color feature to highlight or label your ideas.
# Add context to your ideas
The ideas you have collected can be meaningless without context when you review them later, so add notes, images, reference links or any context that's related to the idea inside the brick.
# Capture ideas in your Inbox
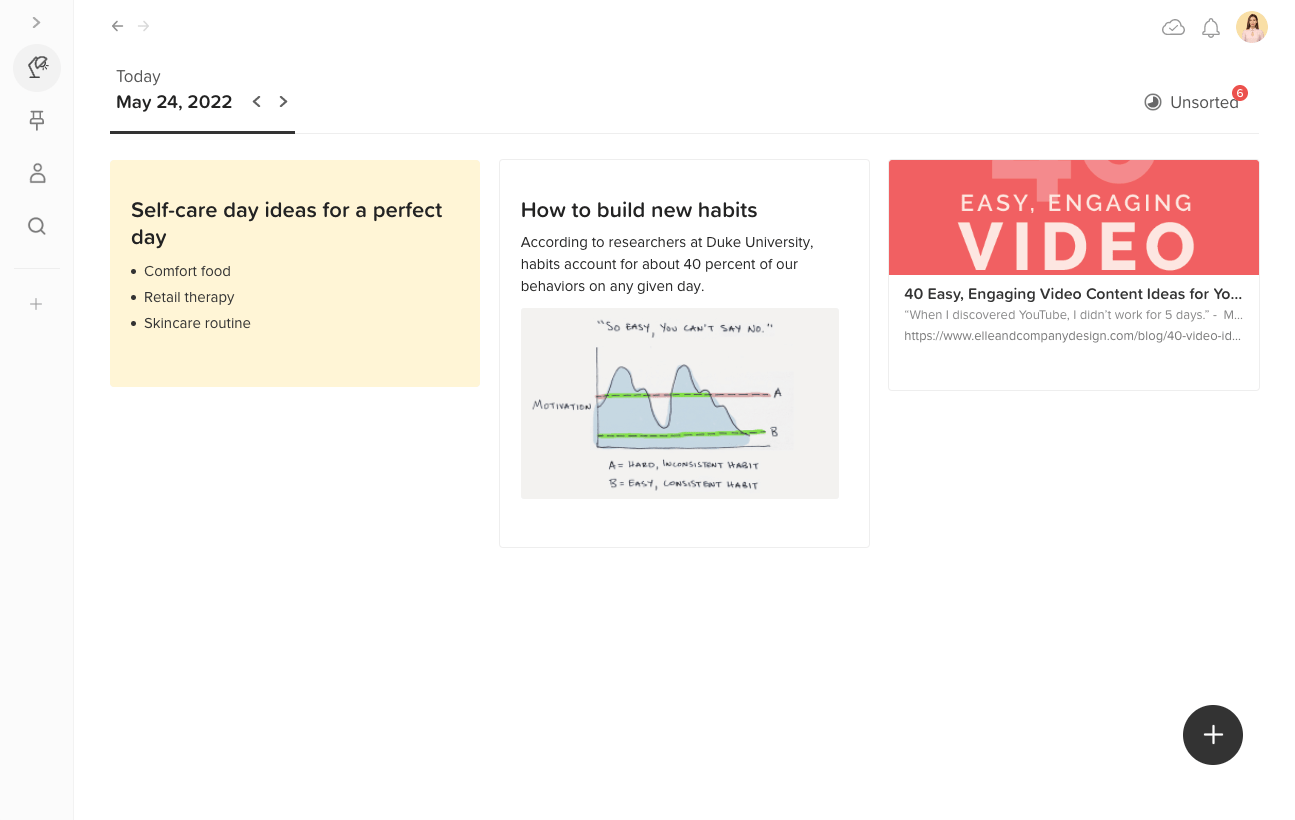 Ever have a great idea hit you and you didn’t quite know where do you capture it so you don’t lose it? Your Walling Inbox is perfect for those spontaneous ideas or things that inspire you that you want to research and develop later.
- To move a brick from the Inbox to a Wall, click on the brick options icon
 and select
 Move to wall.
# Manage your ideas
Go from ideas to action faster by managing the ideas you have collected on the same wall.
- Create a new Kanban section and name it "In the making" to manage the ideas you have collected through the different production stages.
- Easily drag and move ideas from the "Idea Generation" section to the new "In the making" section to manage the production of the ideas.
- Depending on your workflow process, you can add different kanban columns for the different production stages. Such as "In-Progress" for creating the idea video thumbnail, title, description and transcript. When these details are ready, you can then move the idea to the "To film" column to start producing the video.
# Review & Finalize
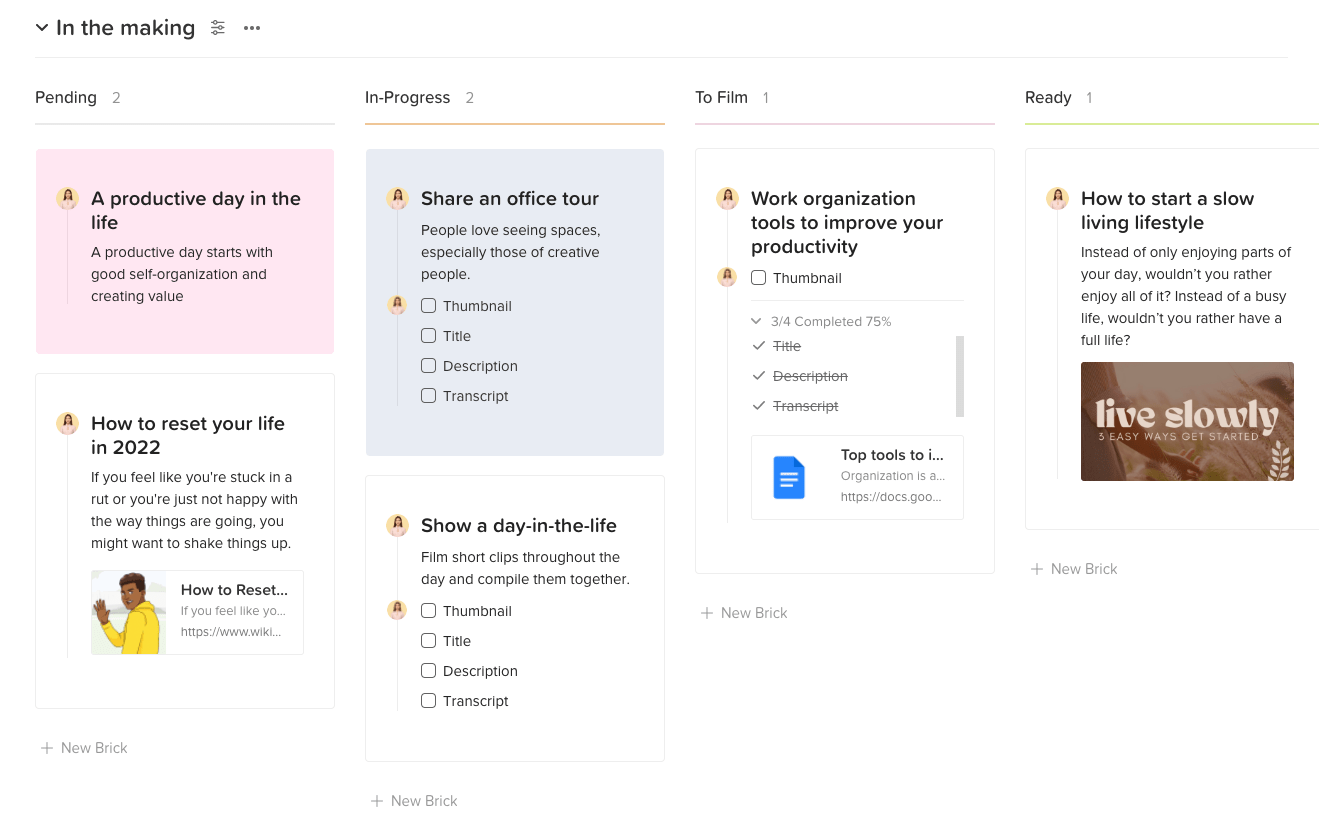
- When the video is ready, including the video title and thumbnail, move it to the "Ready" column.
- You can attach the video transcript external link or file as well as the video thumbnail to the brick.
# Schedule in calendar
Create a new Calendar section to schedule the videos you have finished.
- Finally, when the video is ready, drag it and move to it the calendar section to schedule it and have it ready later when it's time to publish it.
- You can plan your content by the day, week or month. Learn more here.